Can You Use Only One Mic For Recording? Yes!

Recording offers a vast and sometimes overwhelming array of microphones, setups, and techniques. It's tempting to think "more is better"—microphones, preamps, and tracks. But, especially in music, there's undeniable beauty and freedom in stripping down your recording process to the bare essentials.
While we all love a well-stocked mic locker, you'll be amazed by the results you can get from a single mic. Whether capturing one sound source at a time for a multi-track project, a solo performer, or an entire ensemble simultaneously, it creates a certain sonic magic that you can't get any other way. It also streamlines the recording process, freeing you to focus more on the moment than the pending options paralysis.
So, can you truly capture a compelling musical performance with just a single microphone? You bet, and it might unlock a new world of creative possibilities. Here's how to do it.
Reasons to Use One Microphone for Recording
There are countless more reasons to record using only a single mic, and they all come down to artistic vision and straightforward convenience. Do you want the warm, naturally blended sounds of the 1950s? Do you want to capture a performance full of the human quirks that make a great take? You may work out of a small home studio without many gear options. Whatever your inspiration, here are some benefits of using one microphone for everything.
Simplicity:
It's strange how it can be intimidating to say goodbye to complex mic setups and tangles of cables. But, once you get your mic, plug it into your preamp, and send it to your recording device, you'll appreciate the time you save fussing and how much more you have to focus on what matters most – the music!
Sonic Cohesion:
Using one mic helps maintain a natural sonic relationship between sound sources. Instead of separately captured puzzle pieces that you have to glue together with a reverb plugin and mixing techniques, you'll get a beautifully cohesive blend that sounds right every time.
Creativity Breeds Innovation:
Necessity is the mother of invention, and the limitations of a single microphone prove that. These setups can be inspiring, leading to unconventional recording techniques with unexpectedly pleasing results. Embrace these constraints; you'll find them fertile ground for sonic exploration.
Focus on the Performance:
We are all guilty of getting lost in the countless tools and digital options we have. Limiting yourself to just one mic forces you to prioritize the performance and the song arrangement. It naturally draws your attention to the heart and soul of the music, removing the pitfalls of endless tweaking.
Things to Consider for a 1-Mic Setup
Every microphone has characteristics that must be considered when going down this road. There are also some key terms to understand to get the most from a single-mic solution. So keep these factors in mind before you jump in:
It's All About Your Application:
First and foremost, ask yourself, "What am I recording?" Is it a single acoustic guitar and an intimate vocal? You may be working with a powerful funk brass section. Different mics and techniques will respond differently to every application. Defining your application's requirements is the key to getting the best single-mic recording.
Types of Microphones:
Once you've defined your application's needs, choosing the right microphone is next. Versatile large-diaphragm condensers are often a good bet, as they offer a wide frequency range and give you a polished sound that you can fine-tune in the mix. Dynamic microphones are robust workhorses for loud sources that need to cut through. Ribbon mics, on the other hand, bring a natural, vintage-flavored warmth. More on microphone types in the next section.
Proximity Effect:
Proximity effect increases bass frequencies as you move a microphone closer to its sound source. Though it can get a bad rap, it is also a powerful tool for quickly warming up a thinner-sounding source. Just be careful. Get too close, and you can end up with a woofy low end, especially with ribbon microphones. We'll get deeper into mic positioning a little further down.
Polar Patterns:
Does your mic have a fixed cardioid pattern? Is it omnidirectional? Maybe it offers multiple options? Knowing where your mic is listening and where it's ignoring is vital to getting in the right spot for your recording. An omnidirectional pattern can work magic for capturing an entire room. At the same time, a switchable cardioid/figure-8 microphone offers increased flexibility in mic placement.
How to Choose a Mic
Though all microphones are different, there are usually similarities across the various styles. The three main types you'll see are dynamic microphones, ribbon microphones, and condenser mics. We'll dig into each one a bit more to help you choose the right one for your single-mic signal chain.
Dynamic Microphones:
Dynamic mics are generally passive designs that don't require external power sources. Their relatively simple circuitry helps make them rugged and ready for onstage use. They also tend to deliver a focused sound in the midrange that helps sound sources cut through in louder, busier mixes. Because of this, dynamics might not be your first choice for recording everything with one microphone. But don't be afraid to experiment!
Condenser Microphones:
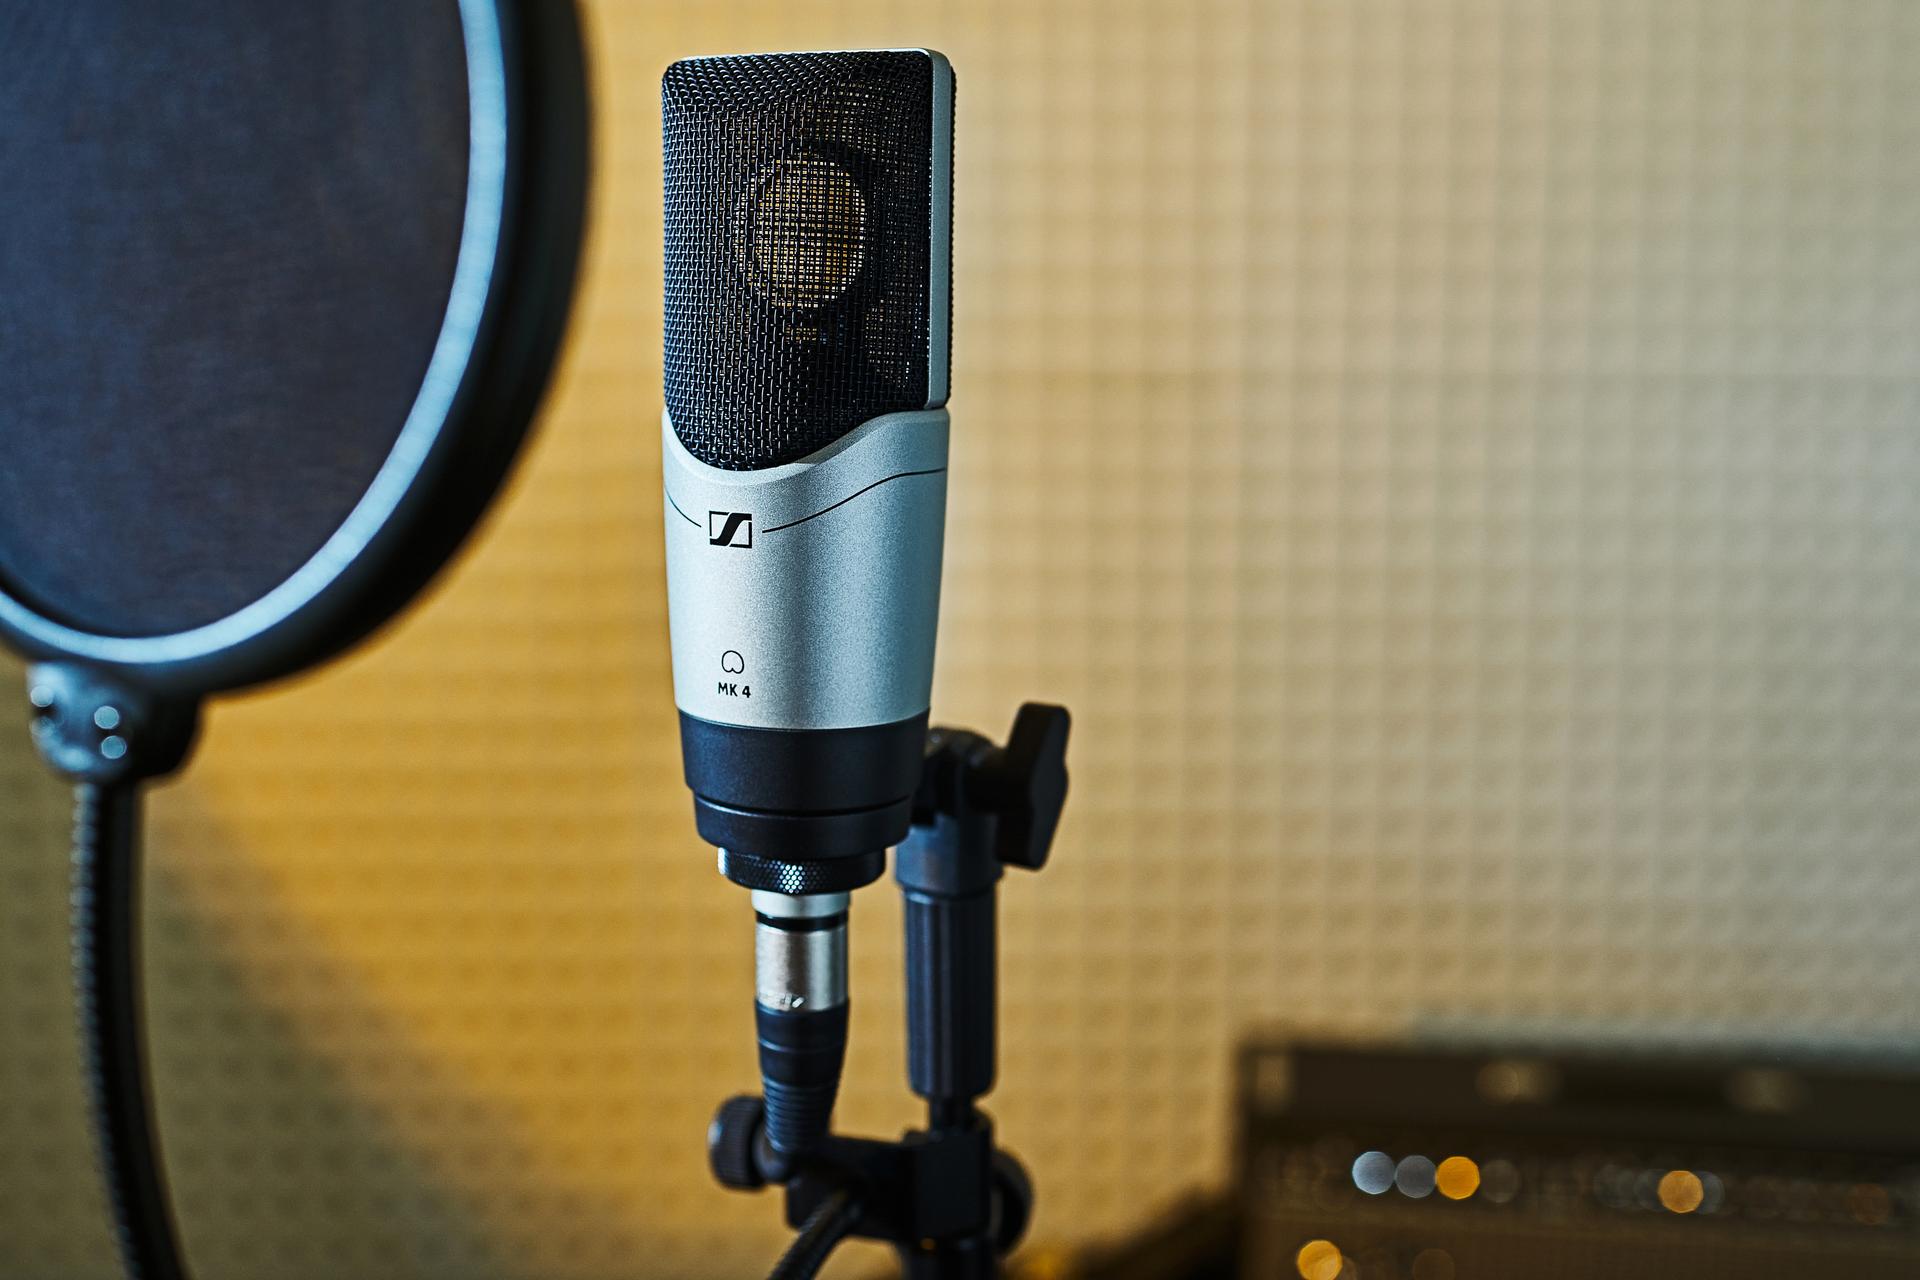
Condenser mics usually feature active circuitry, pulling their power from an external source, such as a 48V phantom power-equipped audio interface, mixing console, or mic preamp. This power helps the condenser capture a wide frequency range that can hype certain frequencies in extremely useful ways. Condenser microphones are great one-mic solutions when you want a clear, polished sound with added articulation and weight.
Ribbon Microphones:
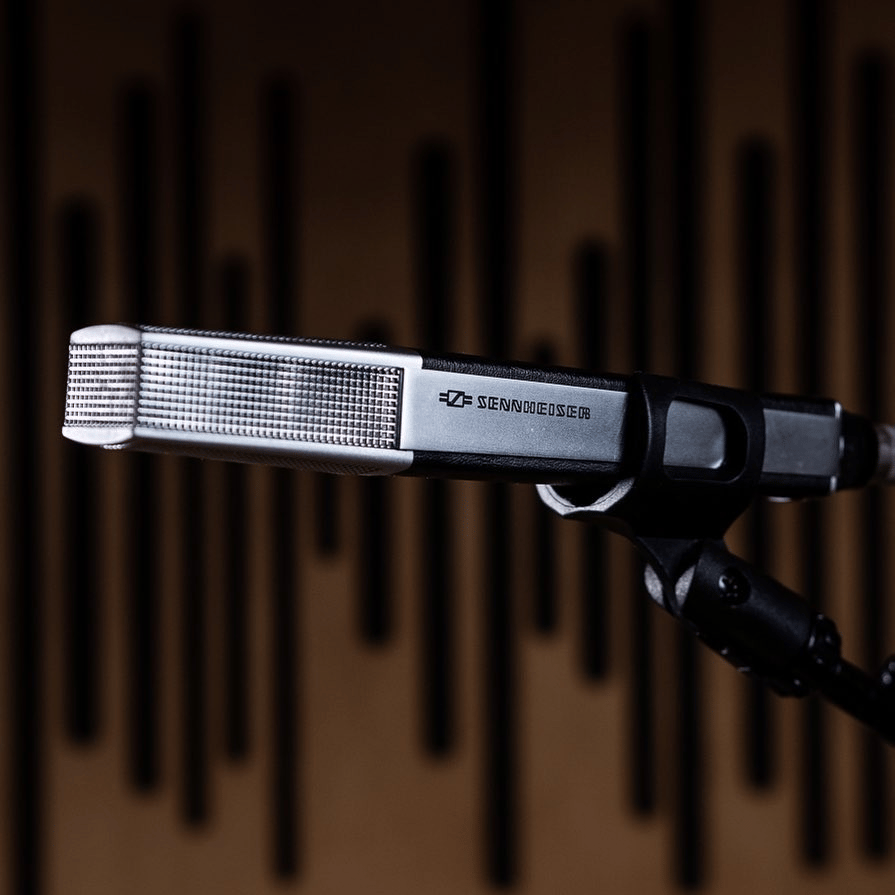
For this article, we'll classify ribbon mics into vintage and modern categories. Older ribbons are often passive and require specialized preamps to achieve optimal performance. Modern ribbons, however, are active, giving you their famed warmth with much less effort. This warmth creates a natural sound, placing the listener in the room with the performance. The industry standard up until the 1970s, ribbons can inject a vintage vibe to any track.
Stereo Microphones:
If you've ever been in a studio and seen a condenser or ribbon mic that looks like it's been stretched out, you were probably looking at a stereo mic. By combining two microphone elements in a single housing, these mics can capture a wide stereo spectrum without the need for additional microphones.

Applications
Which mic is for you depends on what you're trying to accomplish. Different single-mic setups have different requirements. Are you tracking a solo performance or an entire band? Are you recording an album or live streaming? Are you looking for a dry sound or one with plenty of ambient character? Let's look at some typical applications and discuss their best practices.
Recording Solo Performances:
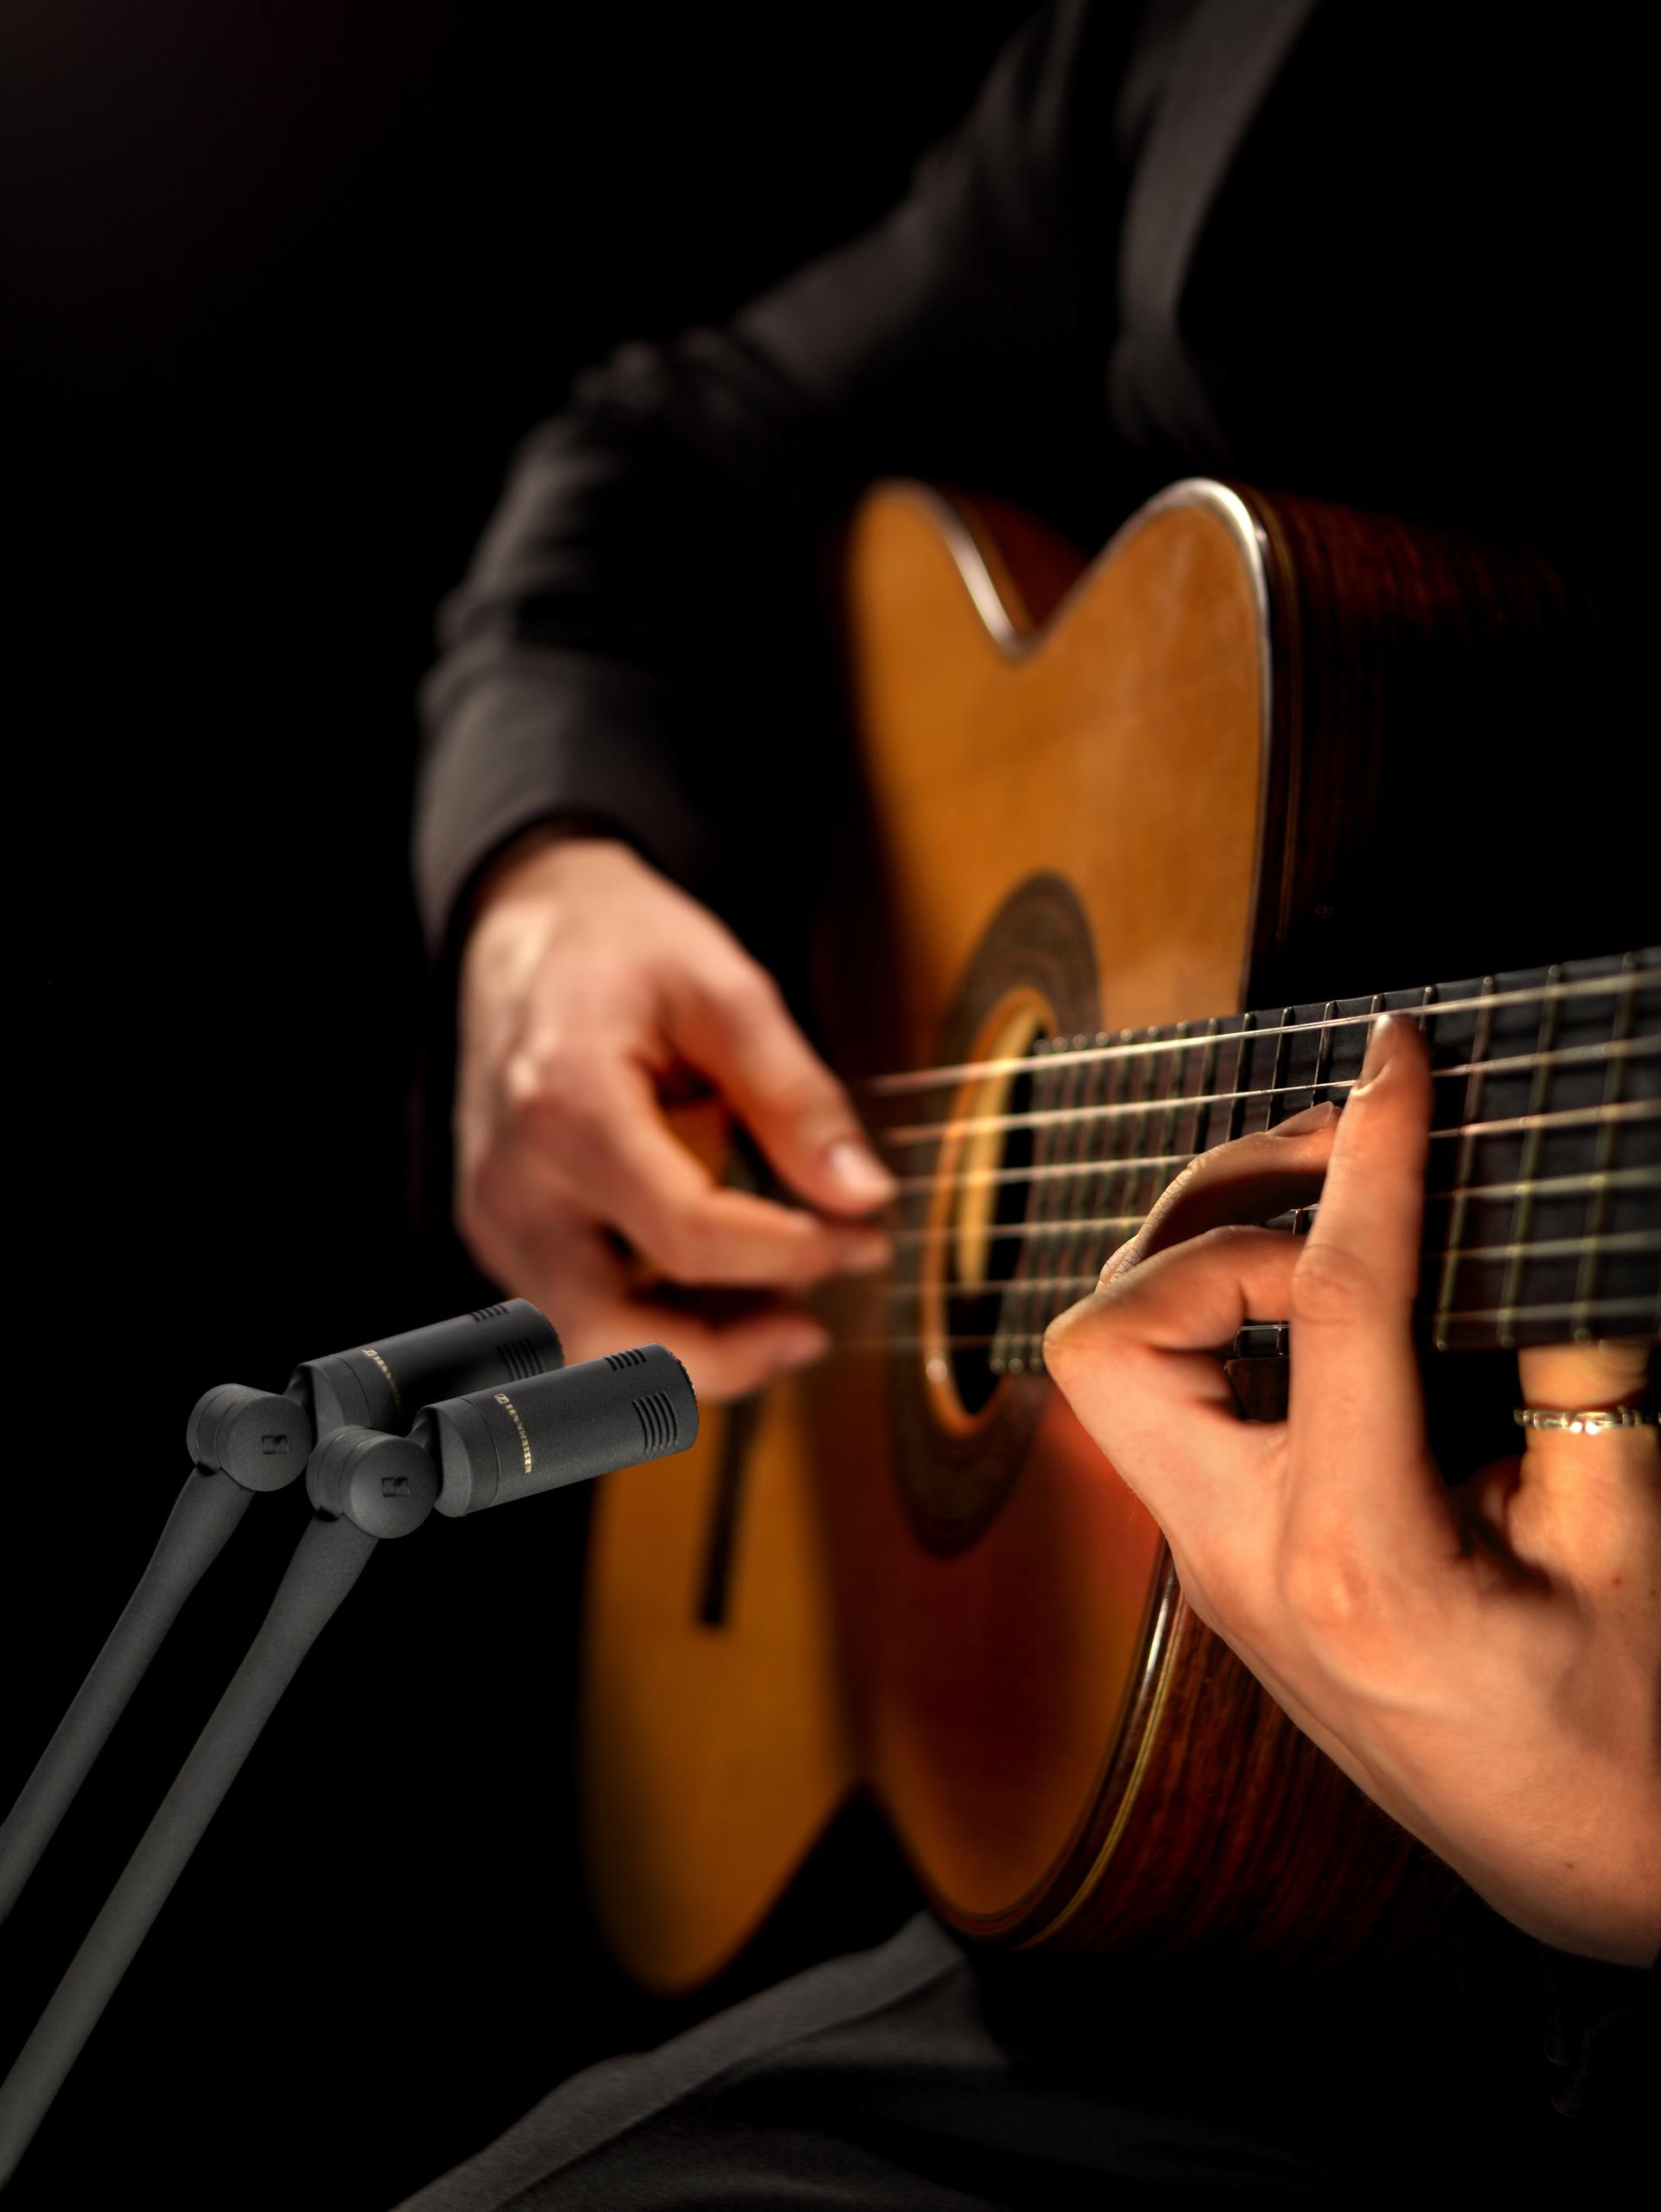
A single ribbon or condenser mic will thrive in this setting, particularly for vocals and acoustic guitar. Place the mic carefully for a good balance and embrace the intimate, organic blend of the two. A condenser will bring out clarity and a wider frequency range, while a ribbon offers a rolled-off top end that gives the recording that "in-the-room feel."
Live Performance Videos:
Believe it or not, a single microphone can be fantastic for capturing a live performance's raw energy and beauty. You'll definitely want to start with an understated mix while keeping volumes low and prioritizing nuance over power. Then, with careful placement, you can enhance the performances you want while rejecting bleed. Keep levels in check and an eye out for feedback issues, and you should be good to go.
Ensembles And Bands
Can you record an entire band with a single mic? What about a string quartet? Even a brass section? Absolutely! If you're after an old-school tonal aesthetic, one mic is a great way to go. It's also the perfect way to ensure an authentic representation of your performance. We suggest an omnidirectional mic. Placing each sound source strategically in the room allows you to get an inspiring mix without touching a fader.

Microphone Positioning – The Key to Success
Now that you've chosen your mic, it's time to learn how to position it for the best results. Thanks to your mic's polar pattern, reaction to proximity effect, and natural frequency response, tiny adjustments to its position can yield vastly different results. It's like harnessing an outboard EQ, a reverb plugin, and having dynamic control simply by moving the mic from one place to another.
Distance From The Source:
Further away from the source, you begin to capture more of your room's ambient sound. The closer you get, the more focus and detail increase, with an in-your-face characteristic. Proximity effect also plays a big role here, increasing low frequencies the closer you get.
Height and Distance from Surfaces:
Where your microphone sits in relation to other surfaces, like the floor or ceiling, affects the amount of sound reflections and low-end. Generally speaking, placing mics closer to the floor results in a fuller, boomier sound, while setting them in the middle of a room decreases these hyped frequencies.
Angle To The Source:
Most people point a mic right at the sound source and go. It's a great way to get things done. But by angling the mic slightly off-axis, you can subtly smooth out specific frequencies and reduce harshness.
Miking Techniques for Different Sound Sources
With all this information in mind, it's time to start recording. Here are some familiar sound sources with tips and tricks for capturing their best attributes with one microphone. These are just recommendations. Never be afraid to experiment to find the sound in your head. The journey is the best part!
Lead Vocals:
Choose a microphone with a smooth frequency response for a natural, balanced vocal recording. A classic choice is a large-diaphragm condenser with a touch of warmth. Consider experimenting with the proximity effect for added depth.
Acoustic Instruments & Woodwinds:
A large-diaphragm condenser is also a good starting point for detailed acoustic instruments. Consider whether the instrument's timbre is warm or bright, and choose your mic accordingly. Ribbon mics also shine here, providing a lovely, woody, balanced tone.
Drums:
Ribbon and condenser mics, especially ones with a figure-8 polar pattern, can do wonders as single-mic drum solutions. You can even go with a true stereo microphone for a super-wide sonic image. Experimentation is the name of the game here, as you'll want to make sure you balance enough of the bass drums' punch while still capturing the cymbals' top-end detail.
Electric Guitar Amps and Brass:
A dynamic microphone like the Sennheiser e609, e906, or legendary MD 421 is always a reliable choice for aggressive-sounding instruments that have to cut through. But you should pull the mic back for single-mic applications and go with something more open-sounding. You may find experimenting with condensers and ribbons brings a more detailed sonic picture to your tracks.

1-Mic Recording is Awesome!
Stripping your recording down to a single microphone is a powerful shift in perspective. While it may not replace conventional multi-track recording for every situation, it's an incredible tool for capturing raw energy, achieving a cohesive sound, or simply finding sonic inspiration outside your usual methods. Far from a handicap, it can inspire a world of new miking techniques and arrangement ideas while offering a powerful and captivating mix.


